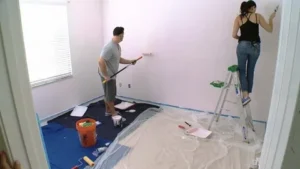
Cabinet paint not only provides an appealing aesthetic but also protects surfaces that are often exposed to varying temperatures, stains, and moisture. Although there are expensive ways to brighten your kitchen, painting the cabinets offers a cost-effective solution, allowing you to achieve quality results without a significant expense.
What you will need
Equipment / Tools
- screwdriver
- Rubber gloves
- Protective goggles
- Putty
- Tack cloth or rag
- Microfiber paint rollers
- Synthetic-fiber paint brushes
- Paint tray
Materials
- Painter’s tape
- TSP (trisodium phosphate) or degreaser
- Sandpaper with a medium grit
- Spackling compound or wood filler
- Paint
- All Surface Primer
8 Steps to Paint Kitchen Cabinets
Step 1 – Remove Cabinet Doors And Hardware
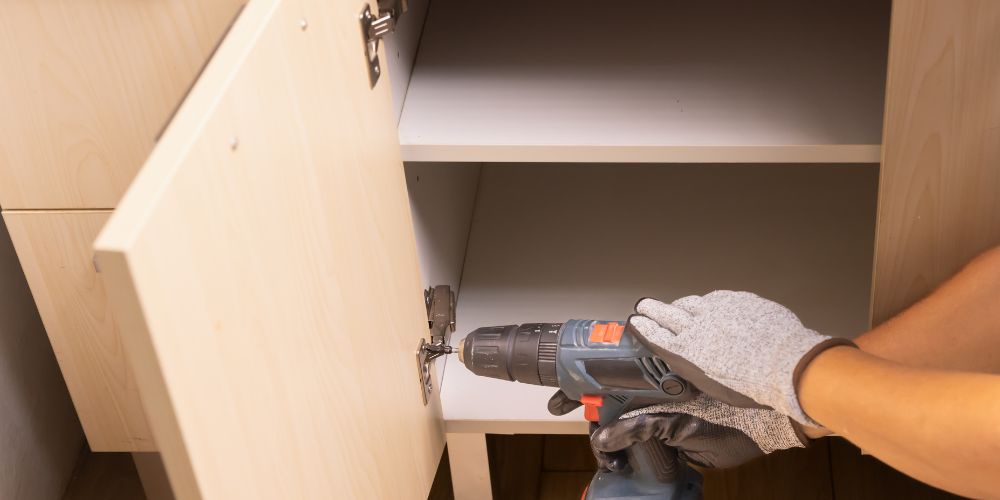
This is an important preliminary step when painting wood cabinets. Begin by removing all cabinet doors and their corresponding hardware, such as knobs and handles. The most efficient method for removing the hardware is to use screwdrivers or a drill, provided you can keep it steady.
Step 2 – Clean And Degrease
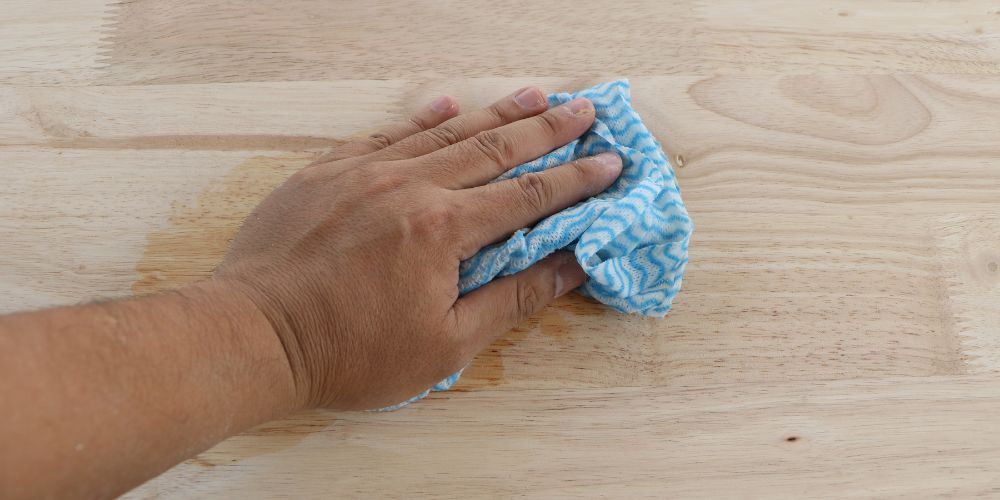
The next step in your kitchen cabinet painting process is to thoroughly clean each part of the cabinet to make sure there aren’t any particles, such as dirt or stains, that would ruin the finish. You can also use grease cleaners mixed with warm water to provide a clean surface that’ll be easier to work with.
Step 3 – Sand The Surfaces
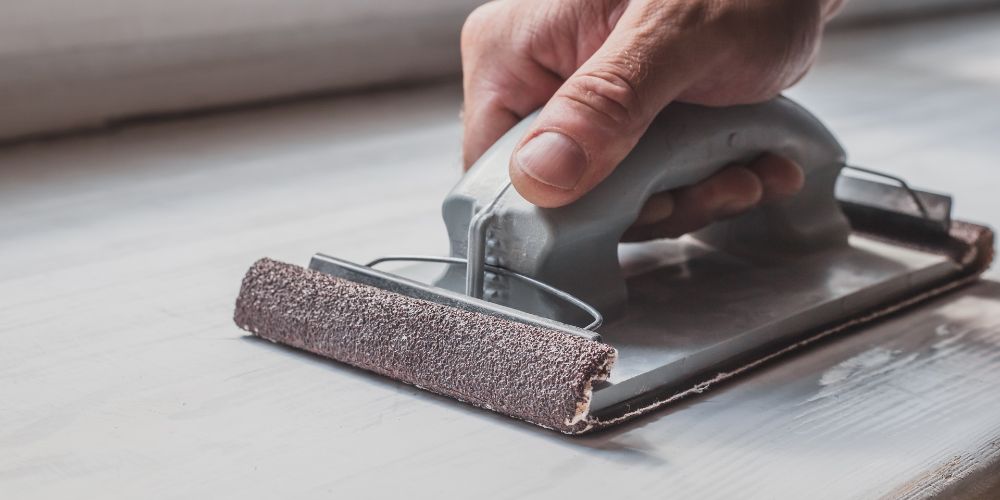
For this step, you must use sandpaper with a medium grit—not too rough. A block sander might be easier to work without the worry of slipping. Also, make sure you’re sanding along (not against) the grain of the wood. This is another crucial step in your kitchen cabinet painting process because the new paint won’t adhere well to the surface if there is still some of the old finish left over.
Also See: Different Types Of Home Wall Paint And Finishes
Step 4 – Fill And Repair
Once you’ve removed the hardware and cleaned and sanded the surface, you might find dents in your cabinets that weren’t quite as noticeable as before. To ensure that they are filled, use a quality wood filler to fill and repair your kitchen cabinets so that the paint can be applied more evenly. Plus, you won’t have any permanent imperfections on the surface.
Step 5 – Apply Primer
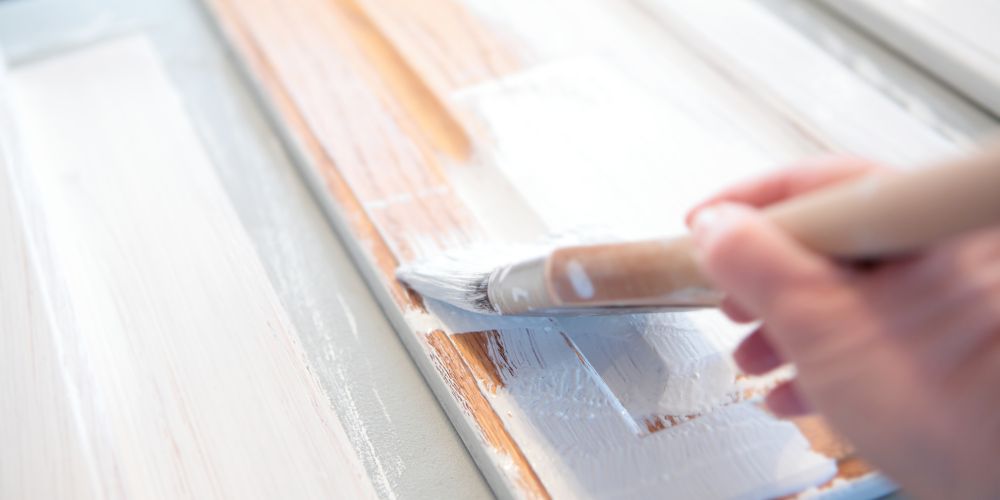
When applying primer, make sure that you’re using a high-quality product, as it will stick to the surface more perfectly compared to cheaper products. Plus, a good primer ensures a more even finish once you start painting. All you have to do is brush the primer across the grain.
Step 6 – Sand Again
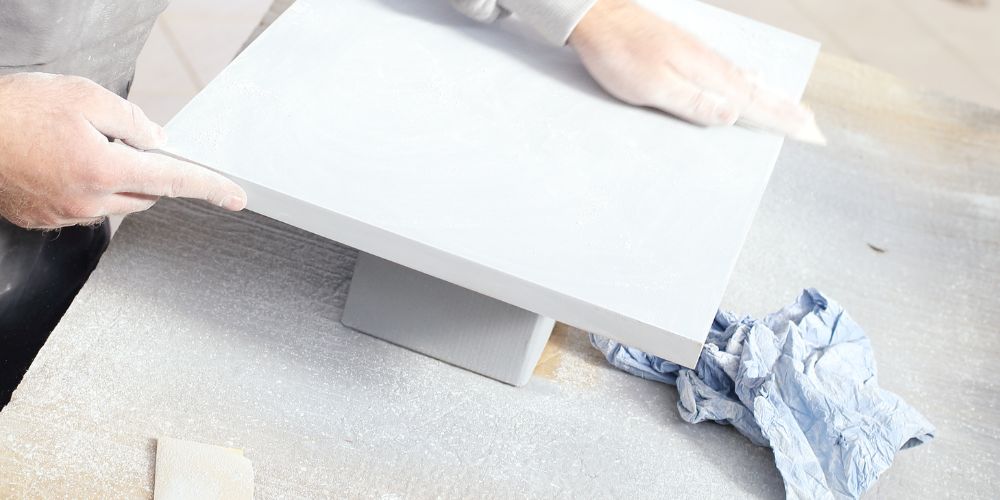
After applying the primer to your cabinet, you must wait for it to dry completely. Afterward, sand the surface again, but this time, use a fine grain to create a smooth surface.
Step 7 – Paint The Cabinets
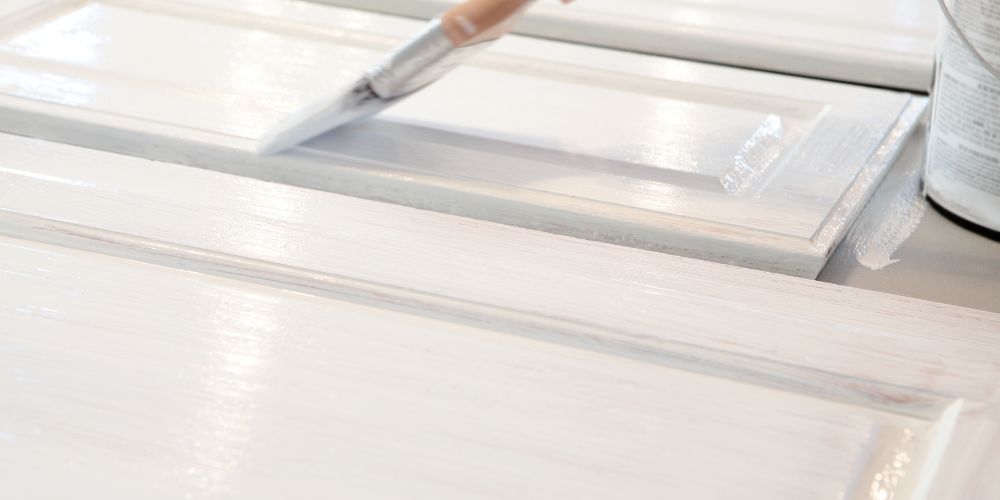
Finally, after going through the complete cabinet paint process, start painting the surfaces with a brush and roller. Make sure to use the same amount of paint on the brush or roller with each stroke so you can keep streaks from appearing. In the unlikely event that you need to apply a second coat, make sure the surface is completely dry.
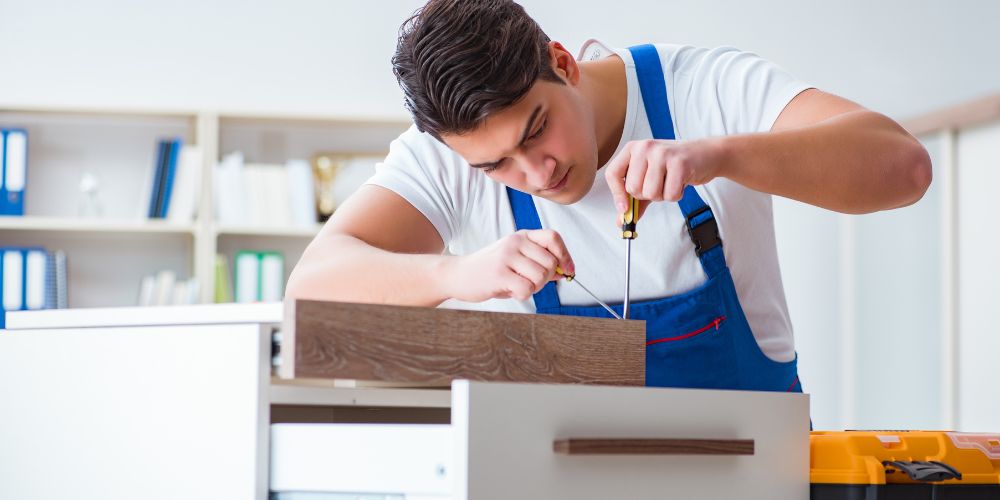
Step 8 – Reassemble And Enjoy
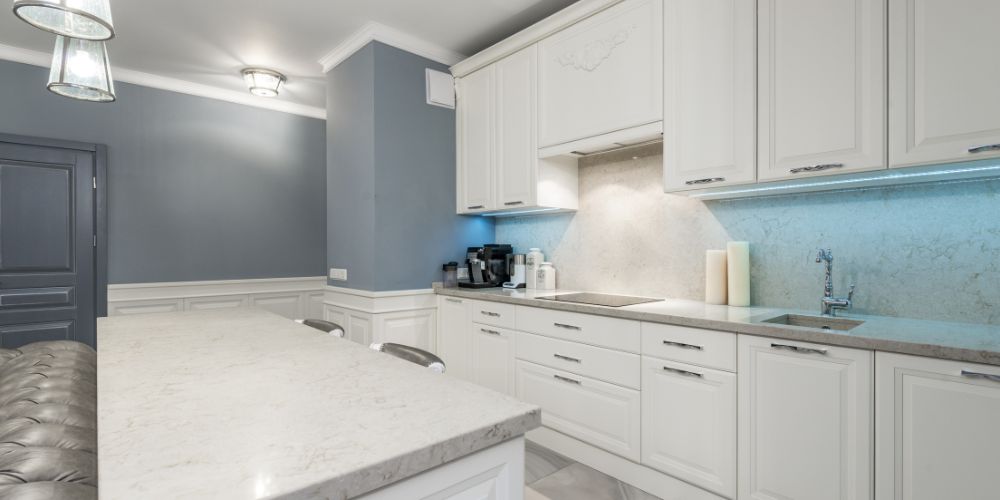
After the cabinets have been painted and are completely dry, simply reassemble the hardware and enjoy their new look.
Also See: How To Prepare A Paint Job
Conclusion
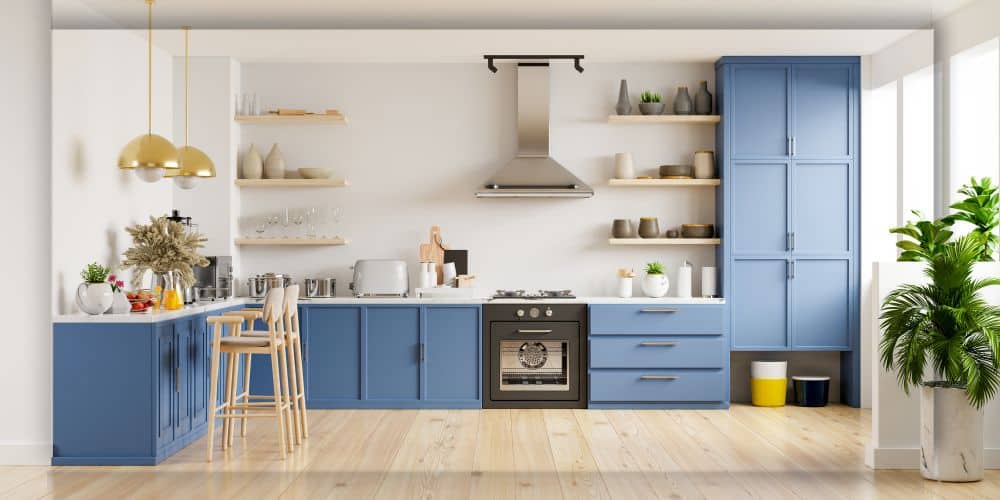
Painting cabinets is not always an easy task, but the new finish brightens up your kitchen. On the other hand, if you’re not certain about taking on this project, you can call in the experts. This is where JDS Home Solutions LLC comes to the rescue, with our professional crew available at your service. We provide remote and onsite estimates for both commercial and residential cabinet painting projects.
FAQ
Why should I consider painting my kitchen cabinets?
Kitchen cabinet paint is a good way to rehab your kitchen interior without incurring the expense of a full renovation.
Can I paint kitchen cabinets myself?
Indeed, you can. Several homeowners tend to save on labor costs by painting their cabinets.
Can I just paint over my kitchen cabinets?
Painting over the existing finish is not recommended, as it reduces the quality of the cabinets’ surface while ruining the professional look.
What kind of paint do you use on kitchen cabinets?
Choosing cabinet paint is a tough decision, but for the most part, oil-based paints, which are durable and effective, are used. Additionally, you can use enamel paints, as they provide a smooth finish to your masterpiece. To create an easy-to-clean surface, opt for semi or high-gloss finishes.
How do I choose the right paint color?
Before painting the cabinets, make sure to test the color schemes on smaller areas of the kitchen. You can also opt for neutral tones that pair well with the walls. Once you have selected the color scheme, start the painting process.
How much space do I need for this project?
The space for this process depends on the size of the kitchen where you’ll be primarily working. However, you might leave some space in your garage or (if the weather is not windy) on your patio for the cabinet doors to dry. Apart from that, there should be a proper ventilation system in the kitchen to ward off paint fumes.
Do you need to sand the cabinets before painting?
Sanding is an essential step in painting cabinets since it smooths the surface and helps to remove the old finish and any stains or dents. Plus, it provides an overall professional look to the kitchen interior.